Wednesday, August 29, 2012

Zentangles and Jewelry

I can't remember when I first became aware of Zentangles .. though I DO know that it was through one of the many jewelry magazine subscriptions I was receiving. There was an article on the art form which really intrigued me. Anyone can do it, and there are "Tangle" books of all sorts available with designs to try. Though the place to begin is at the Zentangle site http://www.zentangle.com/- click on the little "play" button at the bottom to see a slide show of various designs (or go to their blog link in the upper right corner to see what creative things people are doing with them!)

At the time I was interested in trying to make my own photo sensitive texture plates out of a Zentangle design for use with metal clay, then it occurred to me that getting a rubber stamp made from a Zentangle might be the better way to go. Helen Breil beat me (and probably a whole lot of others) to it. She took the idea and really ran with it. I have to admit, it was much easier to just buy one than to go through the whole process of making a bunch of Zentangle designs, and then send them off to .. where ever .. to be made into rubber stamps. I imagine it would take a whole lot more time and $$ than it did to purchase the five I have. Helen currently has twelve designs. You can see them here: http://www.helenbreil.com/Textures.php. I purchased Mambo, fandango, Conga Line, Tango and Watusi .. though now that I can see some of the newer versions, I may have to buy another one or two!

For the past four years or so I have been stocking up on various tools and materials with the intention of getting into Polymer Clay designing. When the price of silver and gold skyrocketed, it seemed like an interesting medium to play with; especially since I was seeing a lot of impressive jewelry being made with the stuff. I've been collecting books, tools of all kinds, acrylics, silk screen sheets, at least one DVD ... and clay. A whole lotta clay (after doing very well at several recent shows). Helen is a Polymer Clay artist - she's got a website (and a Facebook page) full of some of the fun stuff she's done with her own texture tiles  http://www.helenbreil.com/ .. and I had originally purchased the texture plates for polymer clay. 

However, I ended up using one for the first time a few weeks ago to make a fine silver (precious metal clay) clasp for a new Byzantine bracelet (for which I cut all those rings recently). It was the Mambo texture I used; and I have to say, I was initially concerned that there wasn't enough depth in the texture tile to really allow for a good impression. This is quick photo I took of the Mambo tile (they're all about 4" x 5").


And this is the bracelet and clasp that came out of the experiment! I thought it impressed quite nicely!! The finished bracelet is a little too big for me, which is just as well as I'd be inclined to keep it.


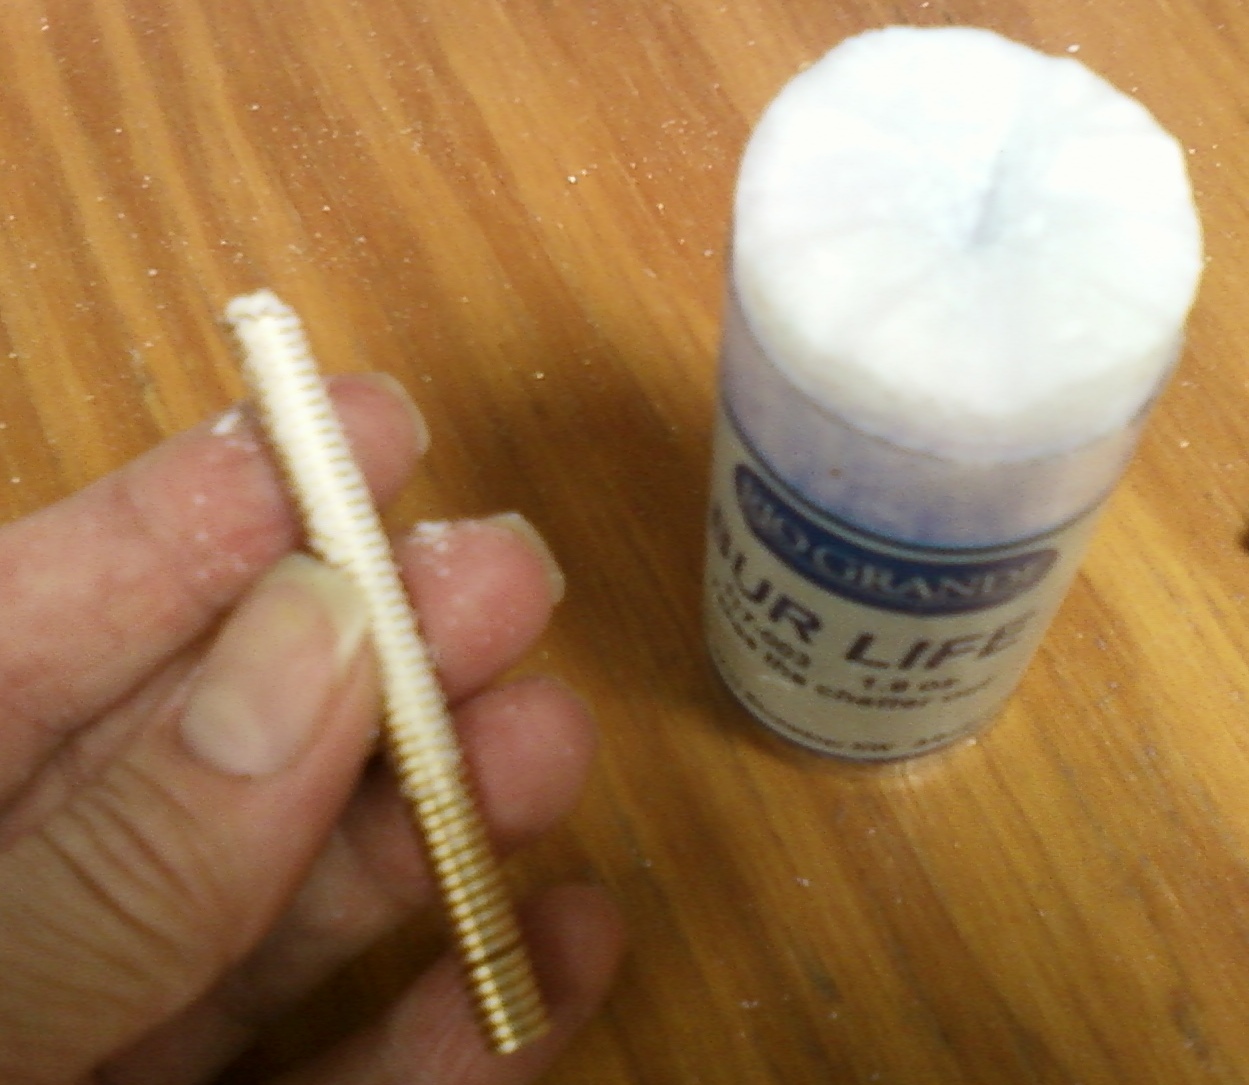
I have a couple of clay stamps I use with metal clay (and will probably use with polymer as well); one is just my business name, the other is my logo. The name seemed more appropriate for this piece.


I thought the finished design, as it appeared on the clasp, looked a little like a Nautilus. So that's what I call it.  It's much more impressive in person (did I mention I'm still getting used to this new camera?!?)  : )  


Tuesday, August 28, 2012

Been a long time comin' ..

So, it's been a while. Lost my enthusiasm there for a bit. Also lost my laptop hard drive and my camera.  Well, maybe "lost" is the wrong word. The laptop was seven or eight years old, the camera at least that or more. Neither owed me anything and the laptop was a workhorse .. and it was time to move on from Win XP. I have since replaced both, the camera just recently though .. and have experienced the frustration of learning to use a new device. You all know what I mean .. it doesn't do what you hoped or what you expect or what you were used to. You get there, of course. But it's time consuming.

I recently wound and cut jump rings for the first time in quite some time. Long enough to have destroyed an expensive cutting blade on my first attempt. Fortunately, I had a back up. I thought it might be fun to record the experience for once. I made the mistake of using my Samsung phone camera rather than a tripod and my new Canon Powershot, however. So please accept my apology for the few (OK, several) out of focus photos. I will have to order more sterling and gold-filled wire before I can give it another go (and that's coming soon); but thought you might like to see the process anyway.

I have a collection of mandrels in different sizes that fit into the chuck of a chargeable drill. The Jump Ringer kit I bought came with a manual winding tool, but the drill is loads faster. However ... one can slice a finger with an errant piece of wire end pretty quick. The green tape is called Alligator Skin, and prevents accidents. I usually put leather "thimbles" on the tips of my fingers and then wrap the tape around them.


I wind all the wire I will be needing first. I try to remember to make the spiral lengths short enough so that there will be room in the cutting trough for the blade. My original Jump Ringer kit came with a shorter cutting block. I purchased separately the one I use in these photos. Otherwise, I would have had to wind the spirals at about half to three-quarters of their existing length.

Before cutting, I liberally cover the area on top of the wire spiral .. the part through which the blade will be cutting .. with a waxy lubricant. Your blade is likely to last a lot longer if you do this (that is if you haven't already destroyed one through thoughtless procedure).


There are four different trough depths on each of the four sides of the cutting block. The wire spiral goes in the center of the trough .. again, so that the blade has room on the front and back end of the trough when you're cutting. The lid with the slit (for the blade) goes on .. the two little thumb screws hold it down.


The spiral should ideally set just a bit above the edge of the trough. The reason I destroyed a blade was that my spiral sat TOO high. Silly girl. At $10/blade, that's a costly error.


This is the blade housing .. it's attached to a flex shaft (I suppose you could use a Dremel, but I'm not certain). The blade is visible in the photo below .. it fits into the slit in the top of the cutting block, and the sides of the housing fit snugly on either side of the cutting block.


One of my more blurry shots .. sorry. When you're assembling the blade and housing on the flex shaft, you want to be sure you have your blade on correctly, so that it cuts in the right direction. Putting it on upside down is another good way to destroy a blade. Had a left handed jewelry maker in the studio once, showing her how to use the device .. after a couple false starts, we ended up purposely putting the blade on wrong, and then moving the Jump Ringer housing from left to right instead of right to left. It's a wonder we didn't strip the blade of all its teeth in the process!!


When you remove the cover after cutting, your spiral is now a bunch of independent rings. Yay!


I run a piece of copper wire through them while they're still a little bit stuck together by the Bur Life, twist the two pieces of wire together to make a little teardrop shape, and drop a bunch of these little bundles into the tumbler with a little Dawn dishwashing liquid and water. I leave them to tumble for anywhere from 30 minutes or so to a few hours (sometimes I just forget!). The tumbling not only cleans off the waxy lubricant, it also shines up the rings and work hardens them a little bit. Just a little bit. But every little bit helps .. depending on what you intend to do with them.


I did manage to get a few shots of the two items I ended up making with my new jump rings, and I promise I'll post those next. I even used the Canon .. though with a whole lotta frustration involved. I mean shouldn't macro mean close-up? Then why all the blur when you move in close. I'm thinking I might have to actually look at the manual! But .. I did get enough photos to post and will do that soon!